


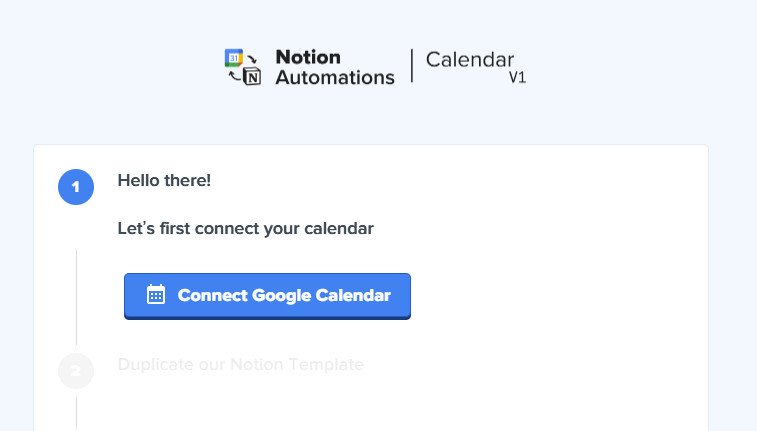

由于Notion还是一款相对年轻的笔记效率软件,它与其他应用的集成并不方便,因此目前只能依靠用户购买第三方付费组件才能实现某些功能。作为Notion的早期用户之一,衷心希望随着Notion用户的日益壮大,以及官方的努力和投入,Notion日历同步能在不久后成为软件自带功能,造福我们本就干瘪的腰包。最后,感谢你能耐心地看完整篇教程,感兴趣的话可以随机看看我的其他Notion教程,说不定有惊喜哦 :
:

由于Notion还是一款相对年轻的笔记效率软件,它与其他应用的集成并不方便,因此目前只能依靠用户购买第三方付费组件才能实现某些功能。作为Notion的早期用户之一,衷心希望随着Notion用户的日益壮大,以及官方的努力和投入,Notion日历同步能在不久后成为软件自带功能,造福我们本就干瘪的腰包。最后,感谢你能耐心地看完整篇教程,感兴趣的话可以随机看看我的其他Notion教程,说不定有惊喜哦:
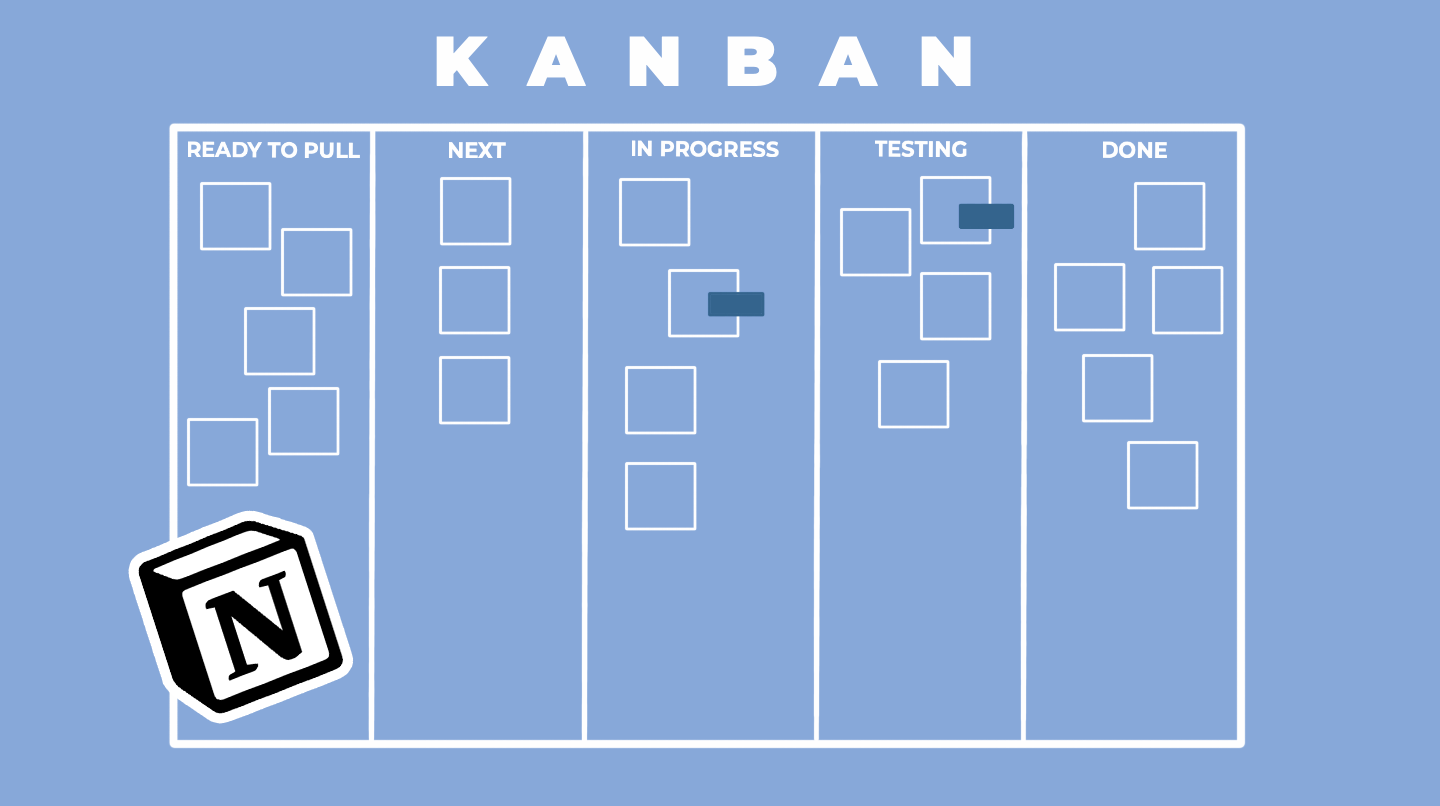
看板(Kanban)是一种卡片式的项目管理工具,可以将复杂的项目管理流程,提炼、简化为卡片。本文提供免费的Notion看板模板,它可以为你快速搭建一套实用、高效且美观的虚拟看板。

作为一个有整理癖的理科男,我喜欢把Notion当成一个All-in-One的生活工作一体化工具来使用,简单来说就是我的第二大脑。既然是第二大脑,就要担负起“秘书“的职责,当有重要事情临近的时候,它需要提前通知我并让我有充分的时间来应对。对此,我的需求很简单,一个简洁实用又不失美观的Notion倒计时计时器足矣。
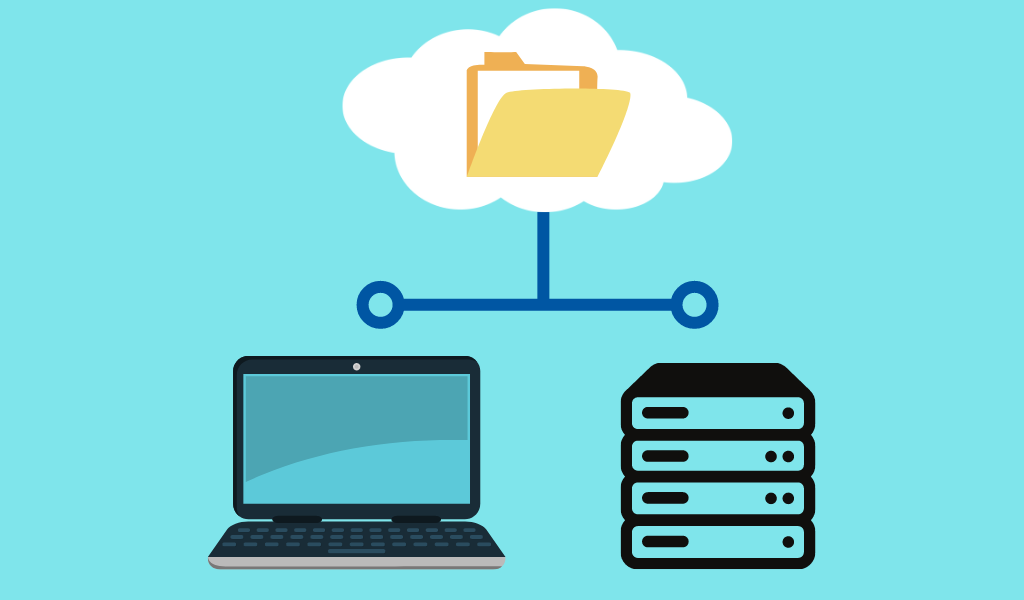
如果你在Notion里存放了大量的文档、文件和团队协作记录,那么定期进行手动备份是有必要的。手动进行Notion备份可以预防服务器无法访问的情况。1.如何导出整个Workspace…